Cambium Cloud
- Open another web browser and go to https://cloud.cambiumnetworks.com/
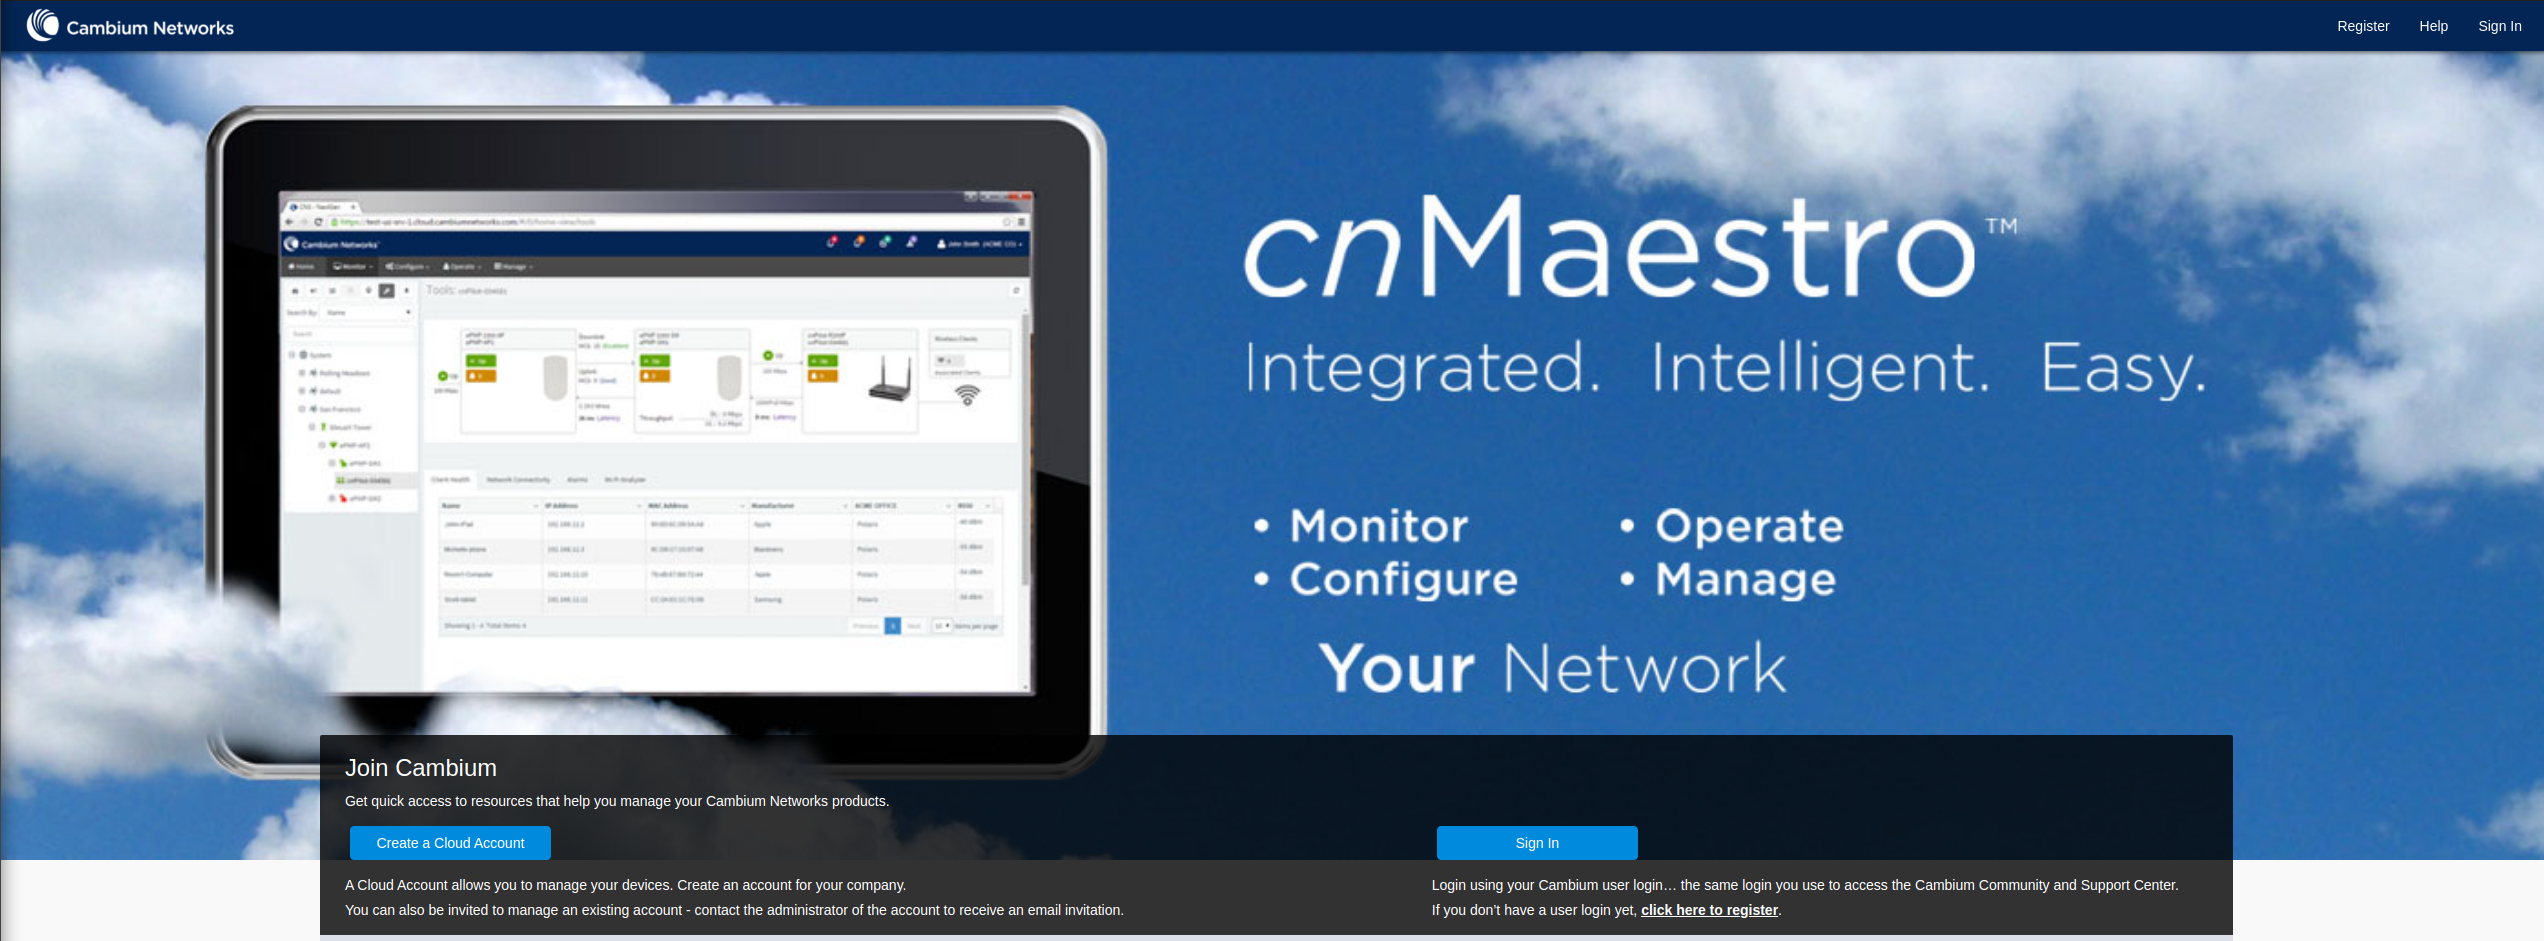
- Create an account. You will also need to create a Cambium ID (such as Powercode_cnMaestro) and make sure the Account type is set to Anchor.
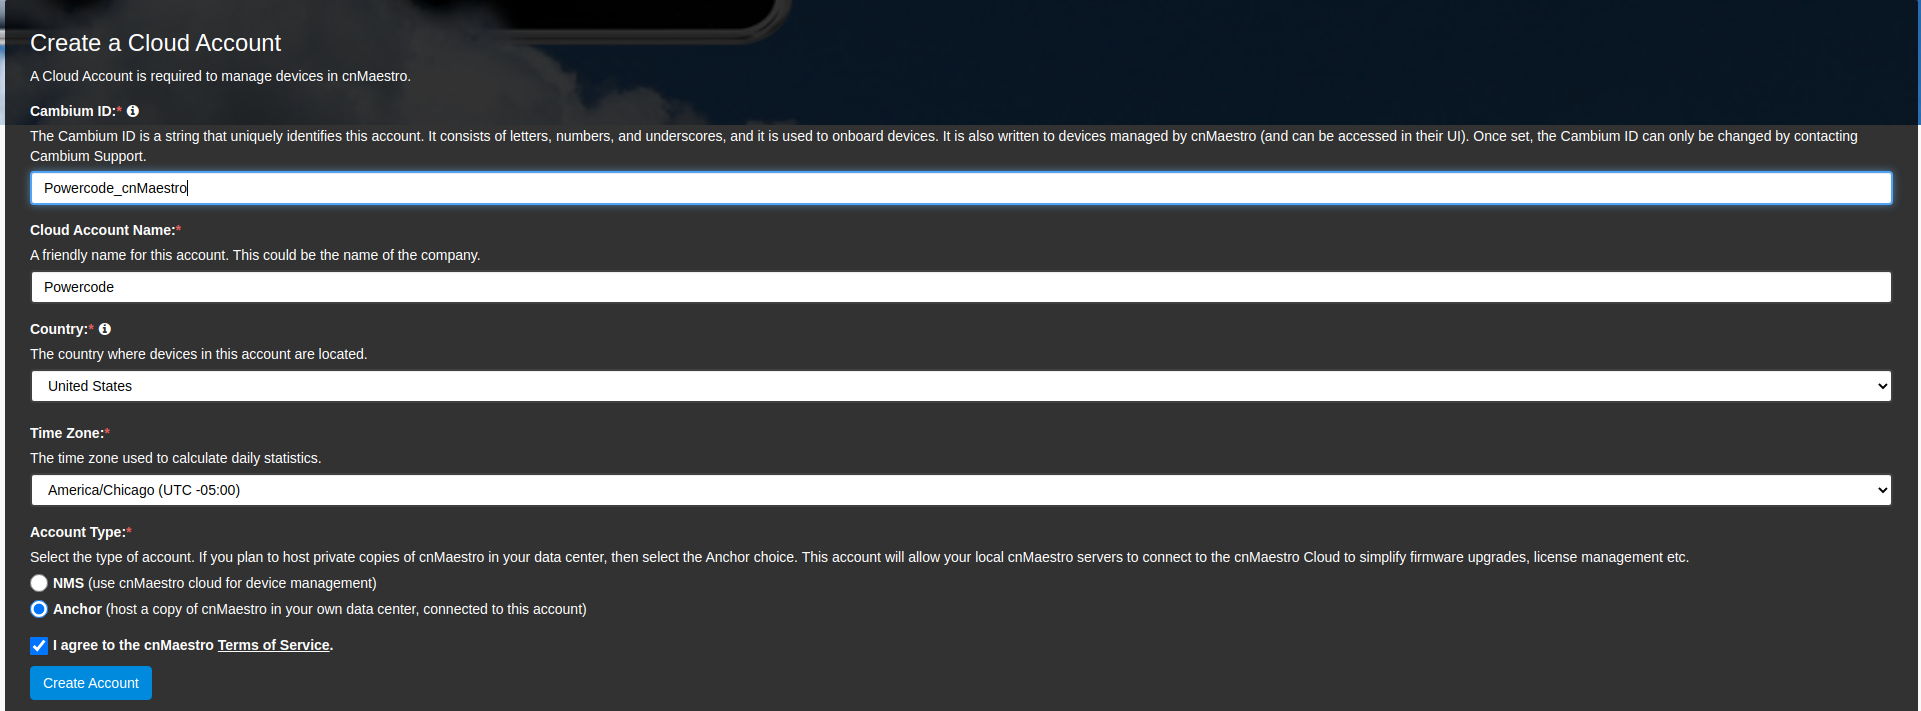
- Once logged in, click on the settings cog on the left menu
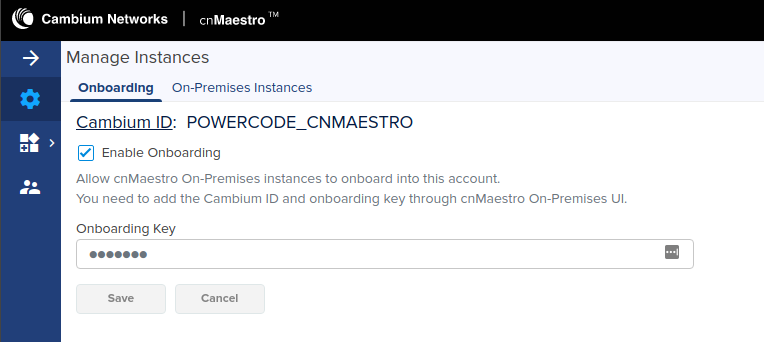
- Check Enable Onboarding and create an Onboarding Key
Local Server
- Open a web browser and go to the IP address you set on the server
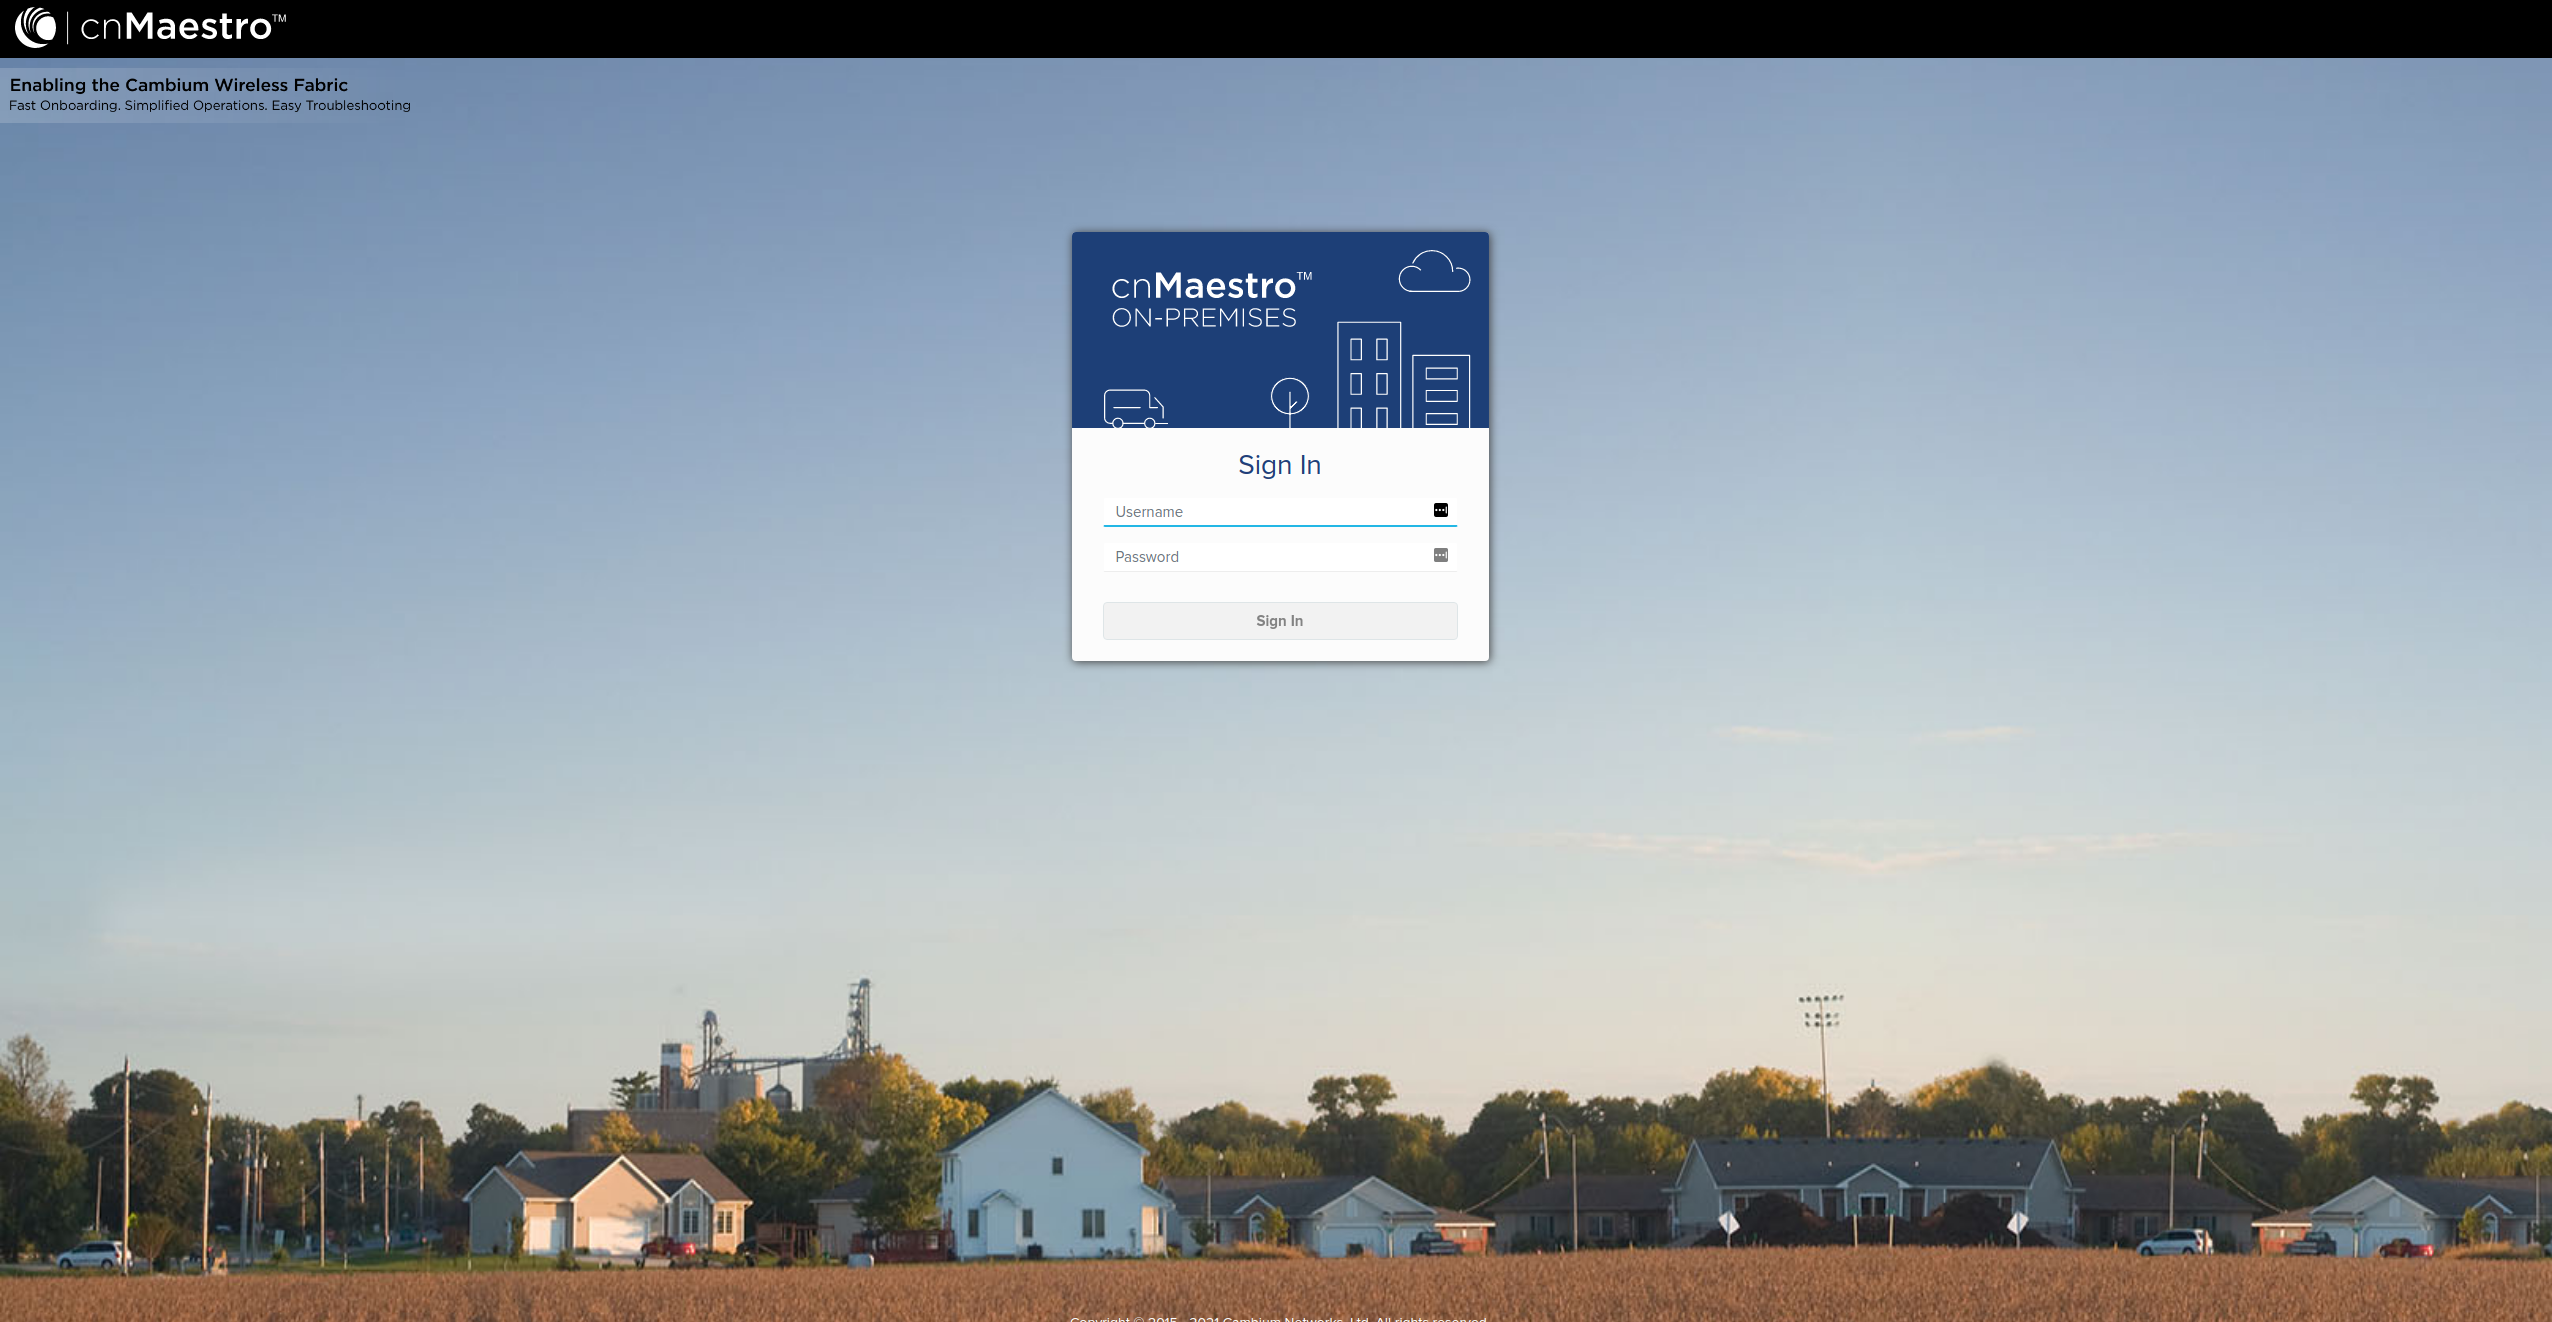
- Log in to the site using cnmaestrotemp and the password you previously set.
- Once you log in using the cnmaestrotemp user, the system will have you set a password for an admin user. Once this is set you will be logged out. After this point, you can no longer log in using the temp account.
- In the left menu click on Administration→Settings
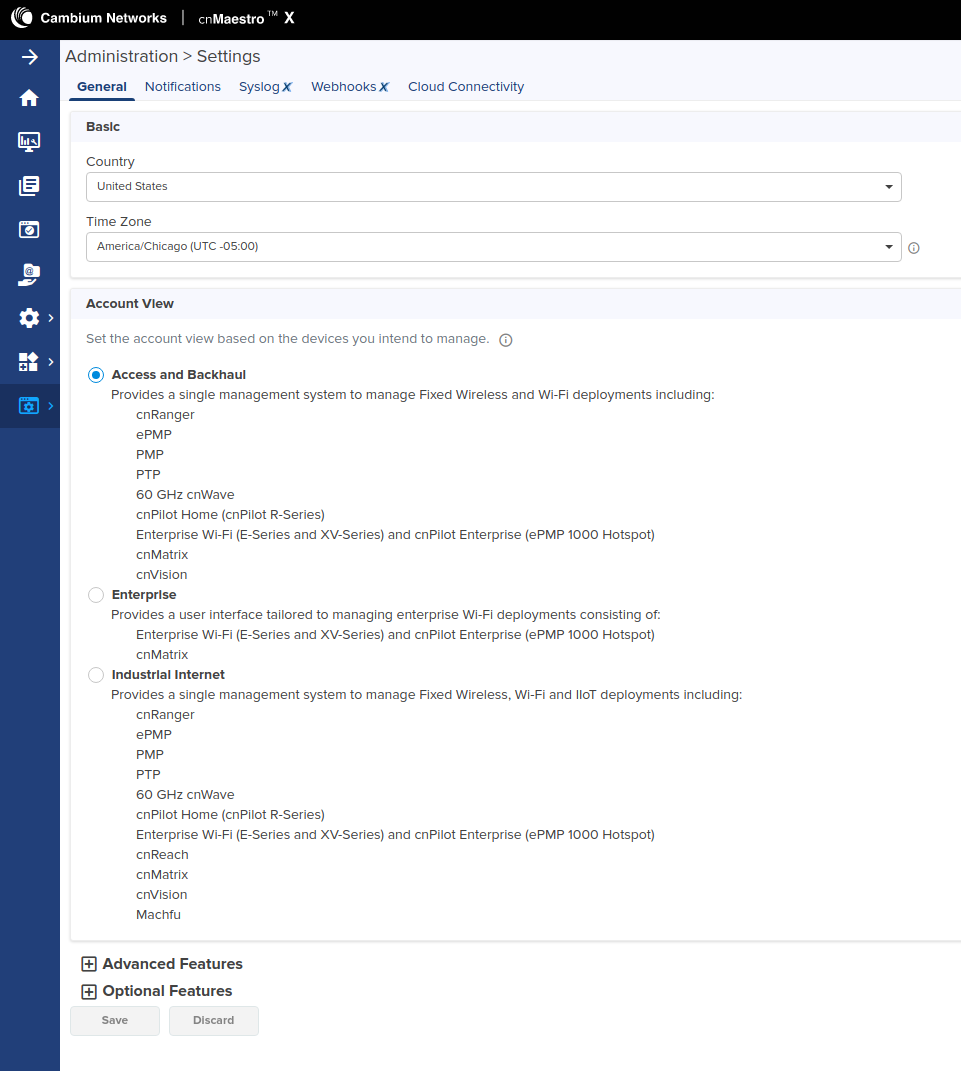
- At the top of the page click Cloud Connectivity
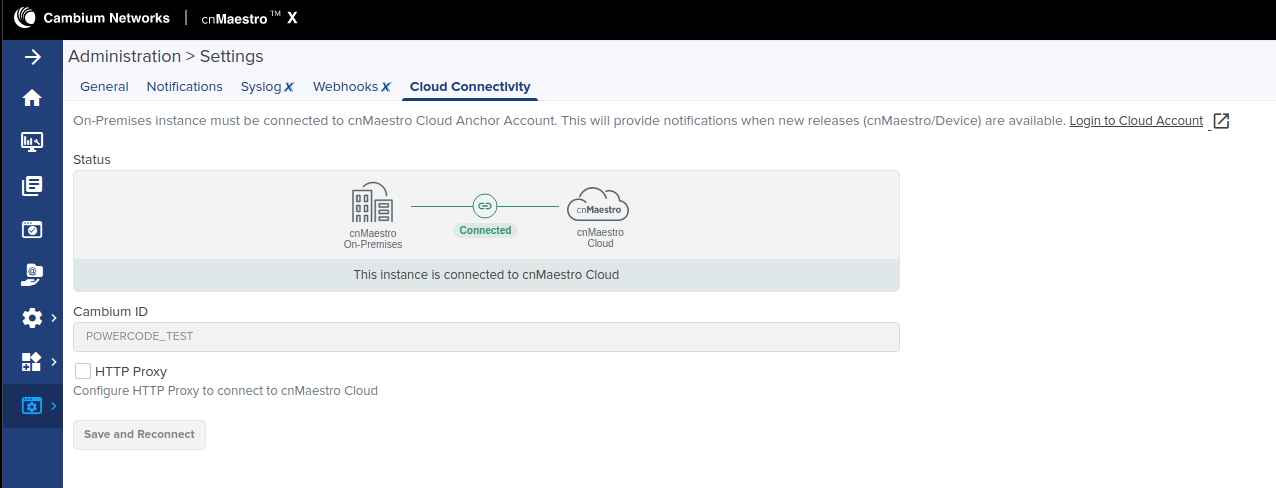
- Enter the Cambium ID from https://cloud.cambiumnetworks.com// and Click save
- In the left menu click on Onboard and head to the Settings Tab

- Check Enable Cambium ID-based authentication to onboard devices
- Select a user, create an Onboarding key, and click save
Device
- Log into the device that you would like to onboard
- In the left menu click Configuration then select the cnMaestro tab

- Enter https://”LOCAL SERVER IP” in the IP field
- Enter the Cambium ID and Onboarding Key from the server Onboard->Settings page
- Save and reboot the device
- Shortly you should see the device populate on the Onboard > Devices page of your local cnMaestro Server
- Once the device is approved and the status is online Powercode CnMaestro page will be able to pull data
